Sunday, November 25, 2012

{Holiday Gifting} Ice Cream Toppings

There is a certain someone in our family that LOVES ice cream. I thought that it might be a cute idea to gift this certain someone with a special, personalized gift this Christmas. 


I had the idea of putting a few favorite candies, crushed up, in jars as handy dandy ice cream toppings. 

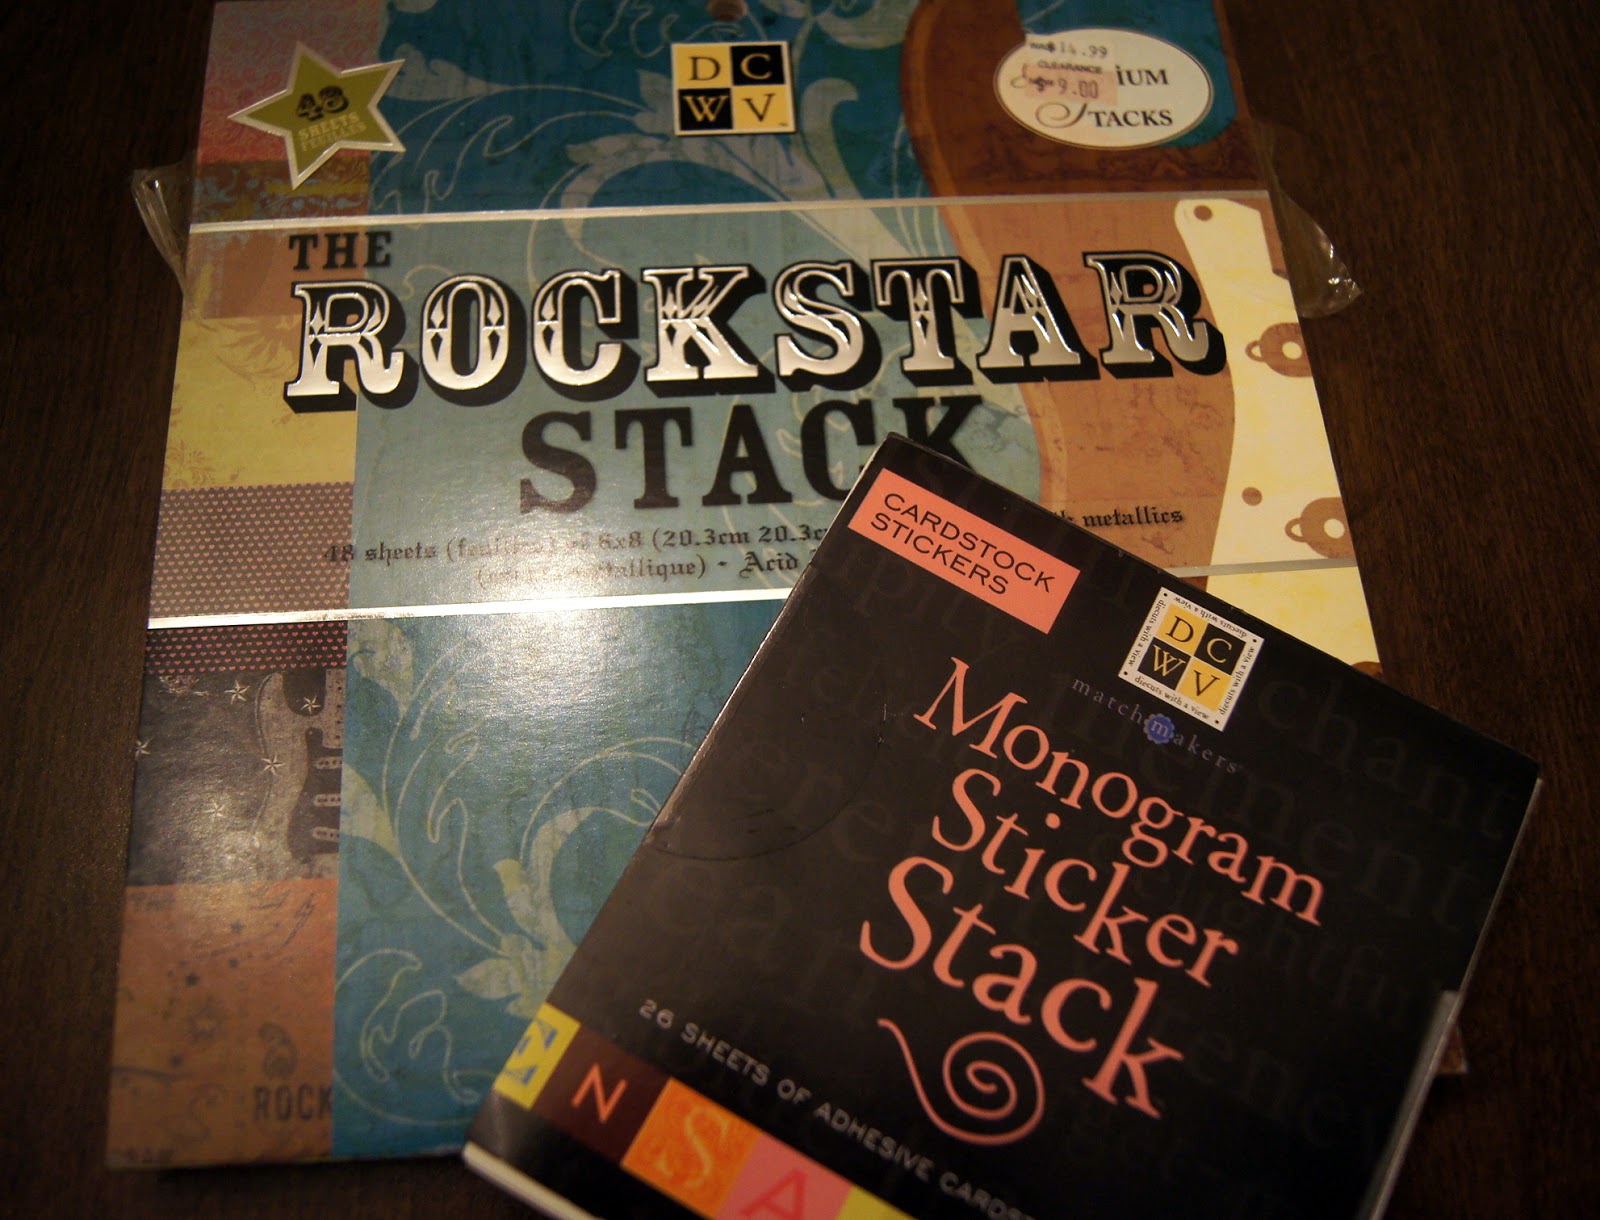
First things first though ... I gathered up some supplies for the project. Pretty pens, scrapbook paper, yarns, fabric, candy, and JARS.


Then I got to the candy cutting, chopping, and smashing. I used a combination of methods, depending on the candy. I chopped up the Heath Bar and Reeses, and then smashed the other candies with a mallet. 


Then I had to figure out how I'd package the goodies. I knew that I wanted to use jars because I am on quite the jar kick lately. Naturally, I searched the one and only, Pinterest for some inspiration.

s'more gift jar 

Gingerbread gift jars x 

 mix-match-gift granola in weck jar

jars jars jars


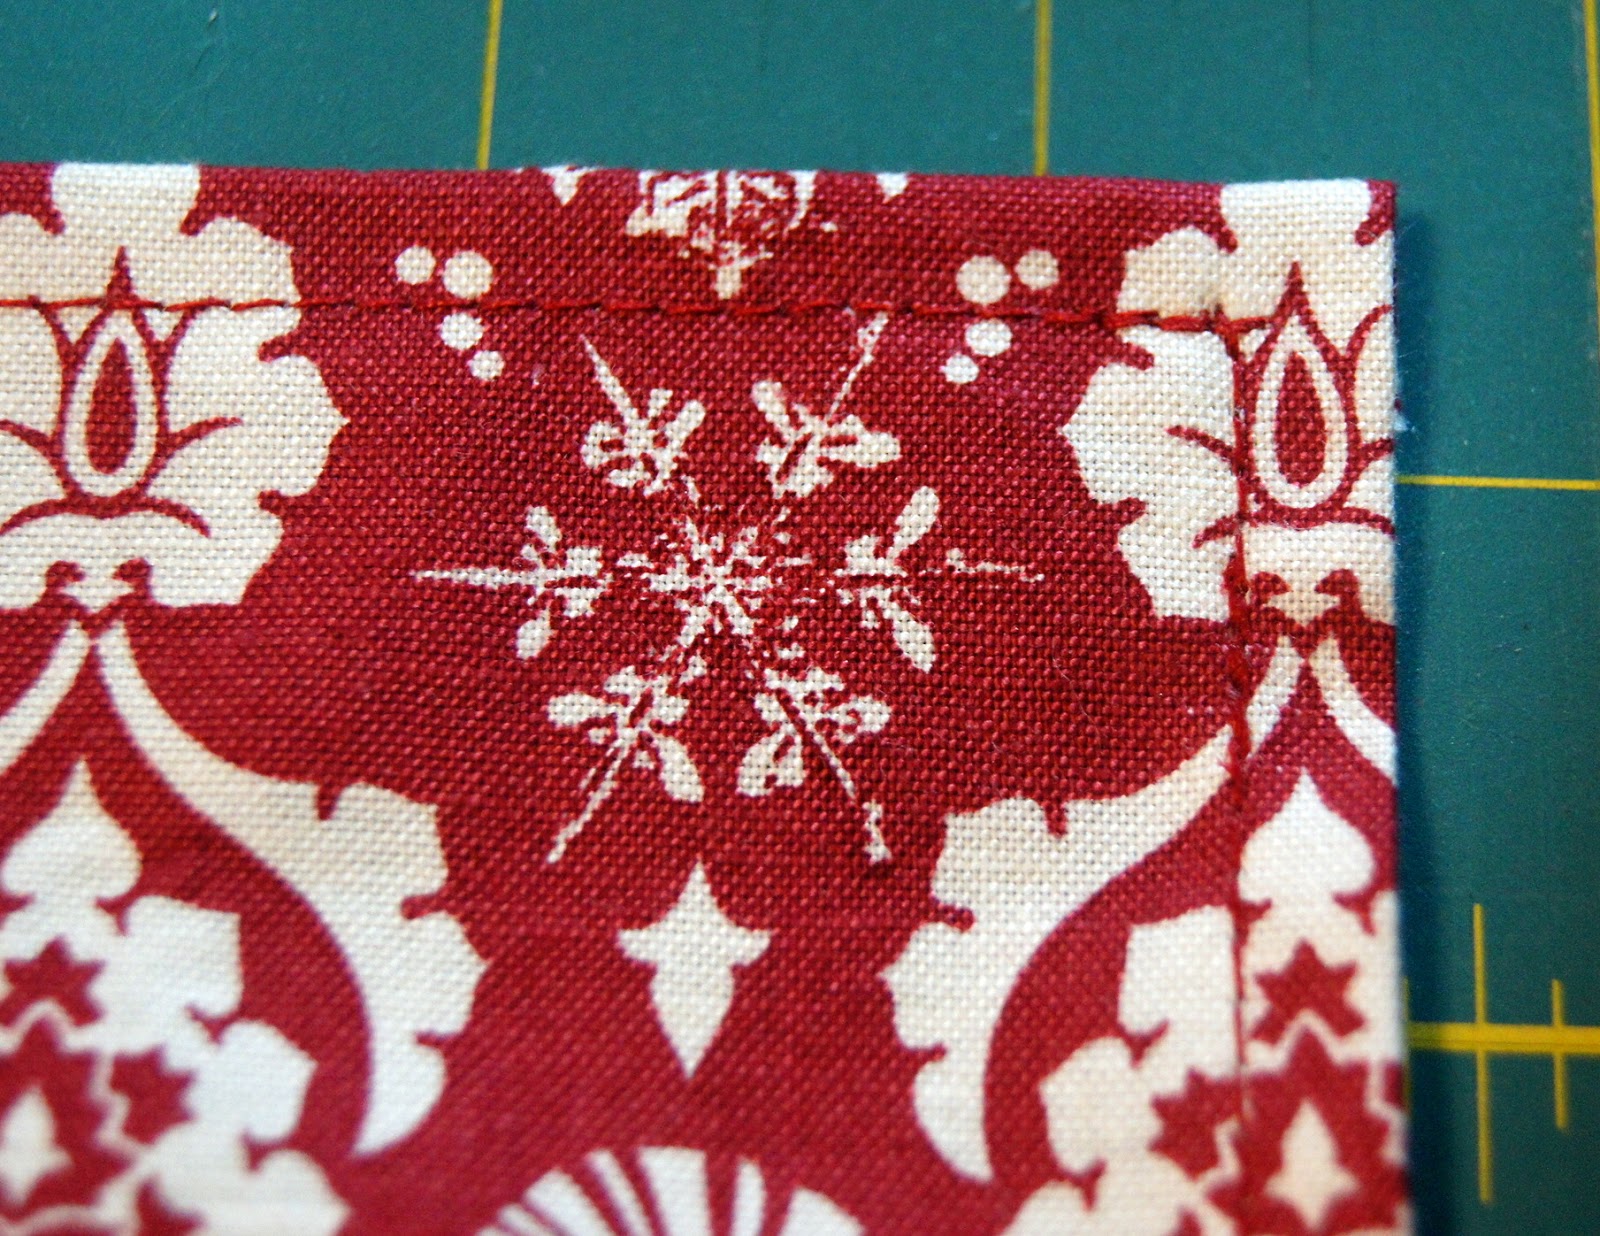
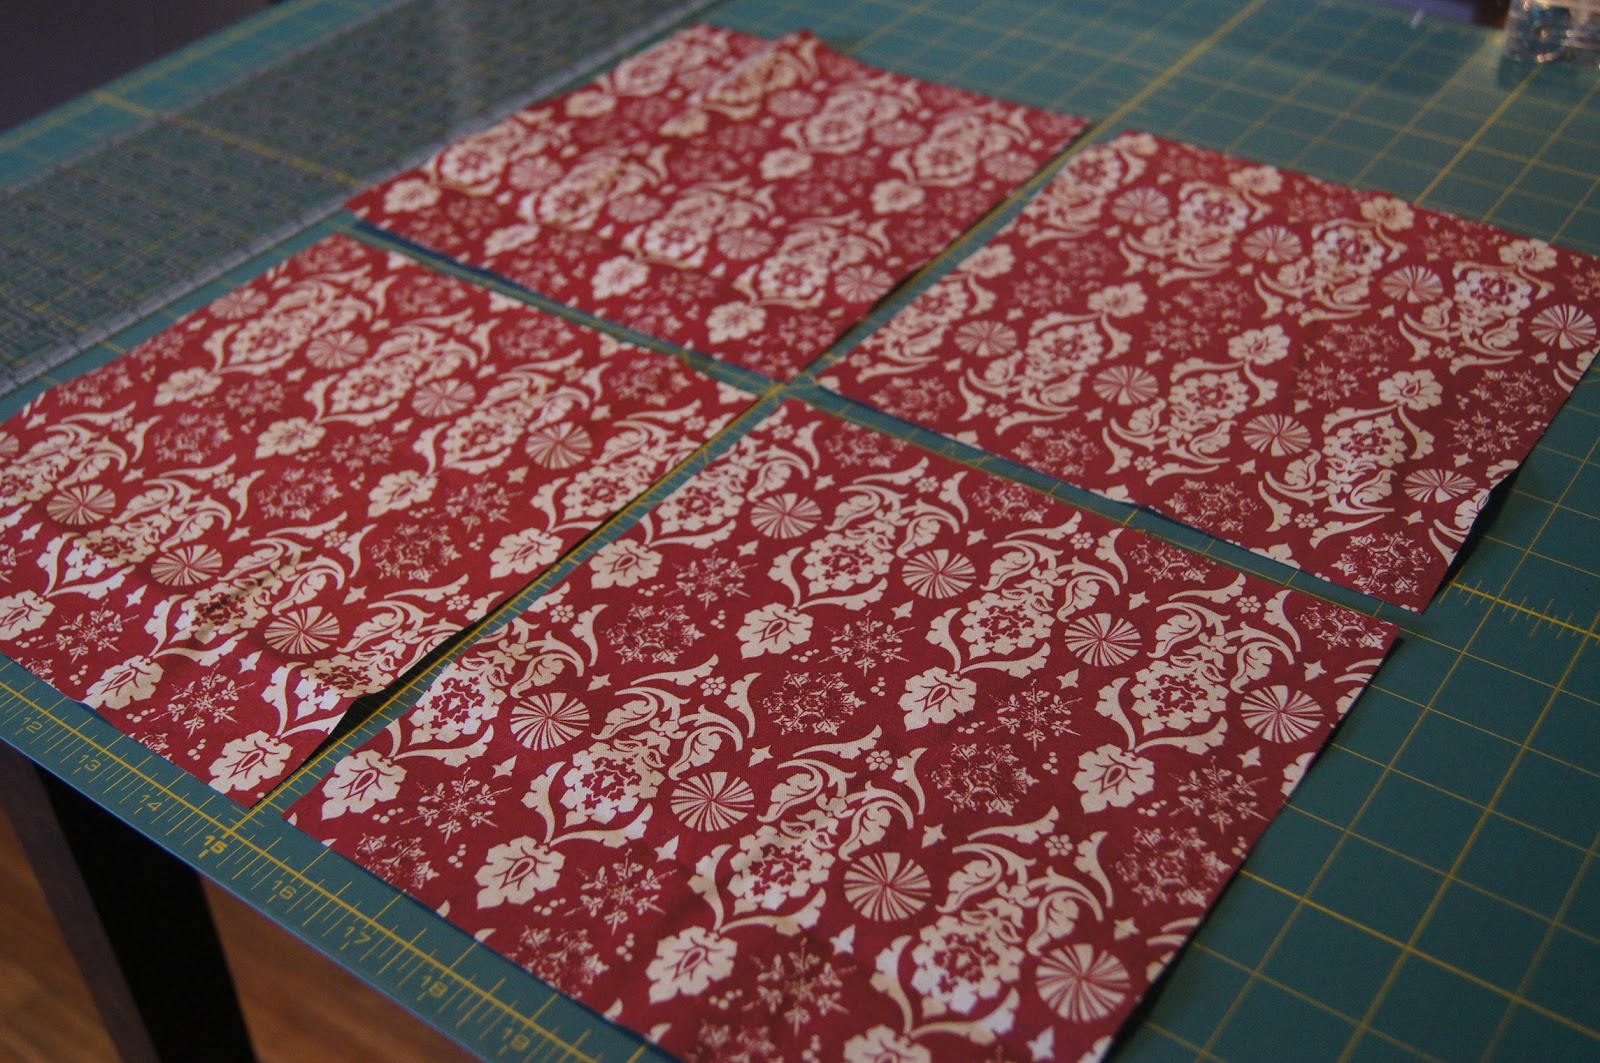
I decided that I didn't want to buy anything or get to fussy. I grabbed some fabric and yarn and got going. I cut (4) 8 inch squares of fabric and hemmed the fabric so that there were not any frayed edged.


Then I grabbed some nice pens, cardstock/scrapbook paper, and scissors and experimented with different labeling techniques.


It took a little trial and error, but I finally came up with a method that seemed to work well for this project, and maybe future ones as well. 


1) Place the square piece centered on top of the jar


2) Get some tape handy and tape down all four FLAT EDGES loosely to the sides of the jar


3) Then I fingerpressed the corners, very simply


4) Putting it all together...I played around with a few different labels and I really like the tag look the best. It also allows for a perfect place for hole-punching.


It was also really easy to wrap the tag and yarn around the jar now that you've pressed those edges. Just start with the 1 corner in the back and work your way around.


TADA!!


Are you jarring any presents for Christmas???

HOLLER!

Wednesday, November 21, 2012

{Holiday Gifting} Silverware Sack

A good friend of mine approached me a year or two ago and said he had a pickle he was 
hoping I could help him get out of with the help of some handmade crafty goodness.

He said that he usually eats lunch at his desk, which most of us office slaves do. The dilemma is that he uses the same silverware everyday, and keeps the set in his desk drawer after he has eaten lunch and washed the silverware. Buttttt his said his desk drawer is kind of gross and full of pencil shavings (who uses pencils that have shavings? Engineers I guess?) and other crud that get all over his perfectly clean silverware. 


Thus came the trial, error, and eventual success that is the Silverware Sack. I wanted to call it the "Silverware Sacko", but my Husband wasn't sure how many of you would get The League reference. 

I actually went through 2 different versions of this Silverware Sack before I got the final model on the third try. I am not really a pattern writer, so it is often difficult for me to figure out the very best way to construct a project.

Here is my first try. For this one I used home decor weight fabric, which I thought would be plenty sturdy. If you take a look at the pictures below, you can see that the end product was a little flimsy. My buddy tested it out and said that he didn't like the feel of it, that it was far too flimsy. Also, I realized that it probably wouldn't survive the wash because the inside hem on the top was unfinished and would probably unravel after a few washes.


My second try was almost the polar opposite of the first one. The finished product actually ended up being too thick. I used Linen as the outer fabric, I interfaced that with a medium weight fusible interfacing, and then I lined the whole thing with quilting weight cotton. BOY was it thick. My super sturdy machine actually had quite a bit of trouble stitching through the last few steps too, as you can see in the pics below, because the feed dogs weren't properly feeding the fabrics through. I actually REALLY LOVED the color combination though. It might be my new favorite. I think that the linen color is almost a mustardy-chartreuse and the lining color was a really pretty winey-plum. Loved it. 


The third try was definitely the winner. I didn't use interfacing this time, but I still kept the lining fabric and used a heavier weight cotton on the exterior. I also cut 1 inch off the length because I thought that model 2 was just a little too long. At the end of the day, the Silverware Sack will probably take me 45 minutes to complete from picking and cutting fabric to putting the finishing touches on it. 


I am DEFINITELY making a bunch of these as Christmas presents for friends and family that 
work, and maybe even some coworkers if they are lucky! 

HOLLER!